
Understanding the Lock-Up Stage in Property Development: A Complete Guide for Homeowners and Developers
- Adam Bahrami

- Jul 22, 2025
- 5 min read
When building a home or investment property, few moments are more satisfying than reaching the lock-up stage. It’s the point where your structure takes shape, becomes weatherproof, and—crucially—can be “locked up” and secured.
But what does this milestone really involve? Why is it such a crucial point in the property development journey? And what should you know before making your progress payment?
In this guide, we’ll break down everything you need to know about the lock-up stage—from its definition and scope, to inspection tips and what comes next.
What Is the Lock-Up Stage?
The lock-up stage refers to the point in construction where the external structure of the home is complete enough to be physically secured. In practical terms, this means:
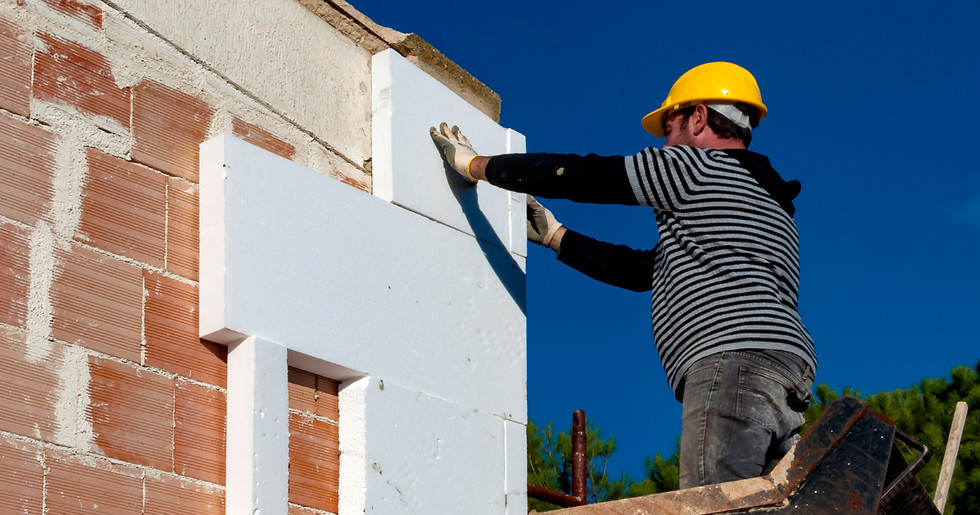
✅ External walls are built (brickwork or cladding)
✅ The roof covering is fully installed
✅ Windows and external doors are fitted (even if temporarily)
✅ Garage doors (if applicable) are installed or able to be secured
✅ The home is weatherproof and secure against intrusion
At this stage, your property may not be finished—but it’s enclosed. That makes it safe from the elements, pests, and theft, and allows interior works to begin with minimal risk.
When Does the Lock-Up Stage Occur?
In a typical construction timeline, lock-up follows the frame stage and precedes the fixing stage. Here's a simplified order:
Base Stage – slab and sub-floor laid
Frame Stage – timber or steel framework erected
Lock-Up Stage – external shell secured
Fixing Stage – internal fit-out begins (walls, cabinetry, plumbing)
Completion/Handover – final inspection and keys handed over
What’s Included in the Lock-Up Stage?
Your building contract should clearly outline what’s included in the lock-up stage. While this varies slightly by builder and state, it usually covers the following:
Feature | Description |
External Wall Cladding | Brickwork, render, or weatherboard siding is complete |
Roof Covering | Metal, tile, or composite roofing is installed and secure |
Doors & Windows | All external doors and windows are fixed (temporary doors are permitted) |
Fascia & Soffits | Installed to weather-seal roof edges |
Garage Door | Installed or securely boarded up |
Wall Wraps or Building Membranes | Installed behind cladding to improve energy efficiency and water protection |
Note: Some contracts may also include roof insulation or plasterboard installation, so check your documentation carefully before releasing your progress payment.
Why Is the Lock-Up Stage So Important?
The lock-up stage is more than just a construction checkpoint—it’s a critical handover between external and internal works. Here’s why it matters:
1. Protects the Interior
With doors, windows, and roofing in place, your home becomes weatherproof and secure. This protects internal materials from rain, wind, theft, and vandalism.
2. Triggers a Major Progress Payment
Under most residential building contracts, the lock-up stage accounts for around 20%–25% of the total contract value. That’s a significant payment—so it’s important to confirm that all inclusions are met before transferring funds.
3. Enables Interior Trades to Begin
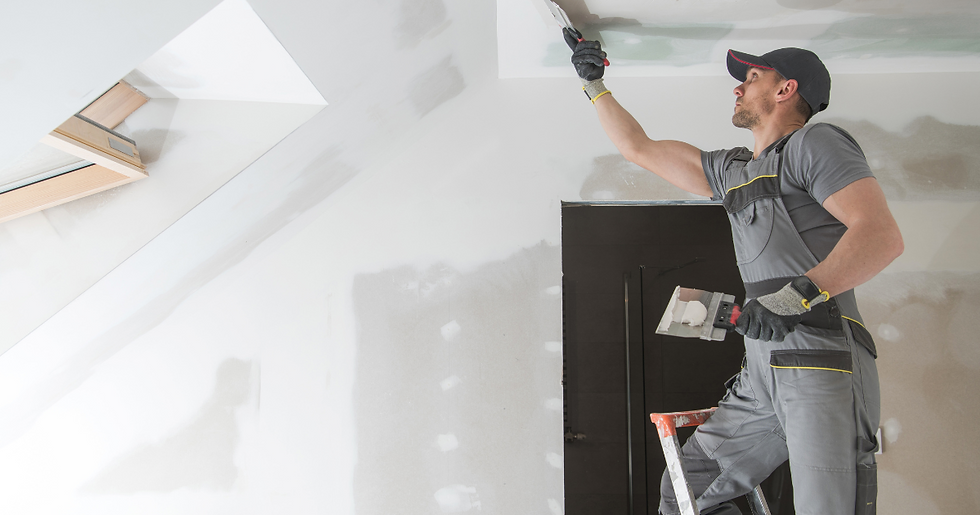
Once the property is secured, interior trades can start rough-ins for plumbing, electrical, insulation, HVAC(Heating, Ventilation, and Air Conditioning), and plasterboard installation.
4. Improves Site Safety
It also signals a shift in site conditions. From this point on, your builder controls access more tightly, and personal protective equipment (PPE) may be required for walkthroughs.

What Happens After Lock-Up?
With the exterior complete and secure, your builder will move into the internal fit-out phase. This includes:
💡 Electrical rough-ins (wiring, switch boxes, lighting points)
🚰 Plumbing rough-ins (pipes, drainage, bathroom layouts)
🌬️ HVAC (Heating, Ventilation, and Air Conditioning) ducts and vents
🧱 Wall and ceiling insulation
🧽 Plasterboard sheeting (walls and ceilings)
🚪 Internal carpentry (architraves, doors, skirtings)
🛁 Waterproofing wet areas (bathrooms, laundries)
🔌 Prime cost installations (light fittings, tapware, appliances)
Tip: Appliances like ovens and dishwashers are often installed later (at completion or handover) to reduce risk and avoid warranty issues.
The Lock-Up Stage Inspection: What to Look For
Before making your progress payment, it's strongly recommended to organise a lock-up stage inspection—either with your own inspector or via an independent third party.
Here’s a checklist of key items to review:
Item | Inspection Focus |
Roof | Fully covered, secured, no gaps or leaks |
Windows/Doors | Properly installed, lockable, sealed |
External Walls | Cladding/bricks correctly laid, no cracks |
Wall Wraps | Continuous and sealed correctly |
Waterproofing | Around all openings (doors, windows, roof junctions) |
Garage Access | Door installed or temporary secure closure in place |
Drainage | Downpipes, gutters, and stormwater drainage installed where necessary |
Bonus tip: Ask your inspector to verify that the frame, bracing, and tie-downs meet National Construction Code (NCC) and Australian Standards compliance before internal walls are closed up.
Common Lock-Up Stage Issues to Watch Out For
Even with experienced builders, issues can arise. Here are some common red flags to monitor:
🚫 Gaps in flashing or waterproofing around windows
🚫 Windows installed out of plumb
🚫 Roof sheeting not fixed correctly (missing screws, overlaps)
🚫 Poor alignment of door frames
🚫 Incomplete cladding or missing wall wrap
🚫 Lack of secure enclosure around garage or side entries

Lock-Up Stage and Builder’s Insurance
Remember: Most builder’s insurance only covers fixed items at this stage—not loose or freestanding appliances. Your own home insurance typically doesn’t activate until the handover stage, so it’s wise to delay installing high-value items like stoves, fridges, or bathware until the final weeks of construction.
Frequently Asked Questions (FAQs)
🚪Can Temporary Doors Be Used?
Yes. Many builders install temporary lockable doors at the lock-up stage to avoid damage to the final doors. As long as the structure can be securely locked, this satisfies the stage requirements under most contracts and state building guidelines.
🔐 Do I get keys at lock-up?
No. Keys are generally handed over only at practical completion. Lock-up is still an active construction site.
🕒 How long does it take to reach lock-up?
This varies depending on the size and complexity of your build, but most residential projects reach lock-up within 16–32 weeks from slab pour.
🛠️ Can I visit the site at lock-up?
Yes. But you’ll need permission from the builder. Site inductions and PPE(Personal Protective Equipment) may be required.
🔍 Is a lock-up stage inspection compulsory?
No. But it’s highly recommended to identify defects early, before internal finishes are installed.
Final Thoughts: Why Lock-Up Is a Major Milestone
Reaching the lock-up stage in property development is a huge achievement. It marks the transition from structural build to interior fit-out, and shows real, tangible progress on your future home or investment.
At OwnerDeveloper, we guide clients through every milestone—from pre-construction feasibility to handover. Whether you're building a duplex under the Housing Diversity Code, developing an investment site, or managing a custom home build—we’re here to make sure every stage, including lock-up, is completed with care, compliance, and confidence.

Ready to Start Your Own Project?
📞 Book your free strategy session today and learn how we can help you move from vacant land to locked-up dream home—on time, on budget, and with zero risk.
Or explore our blog for more helpful guides on every step of the development journey.


Comments